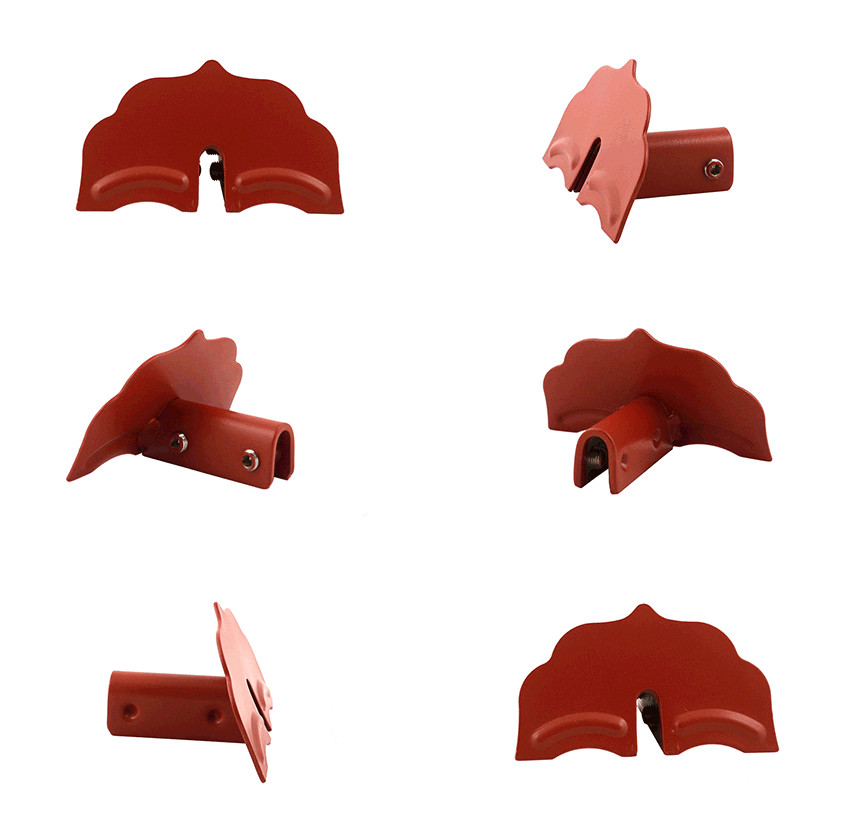
Snow Guards
Why Colorgard?
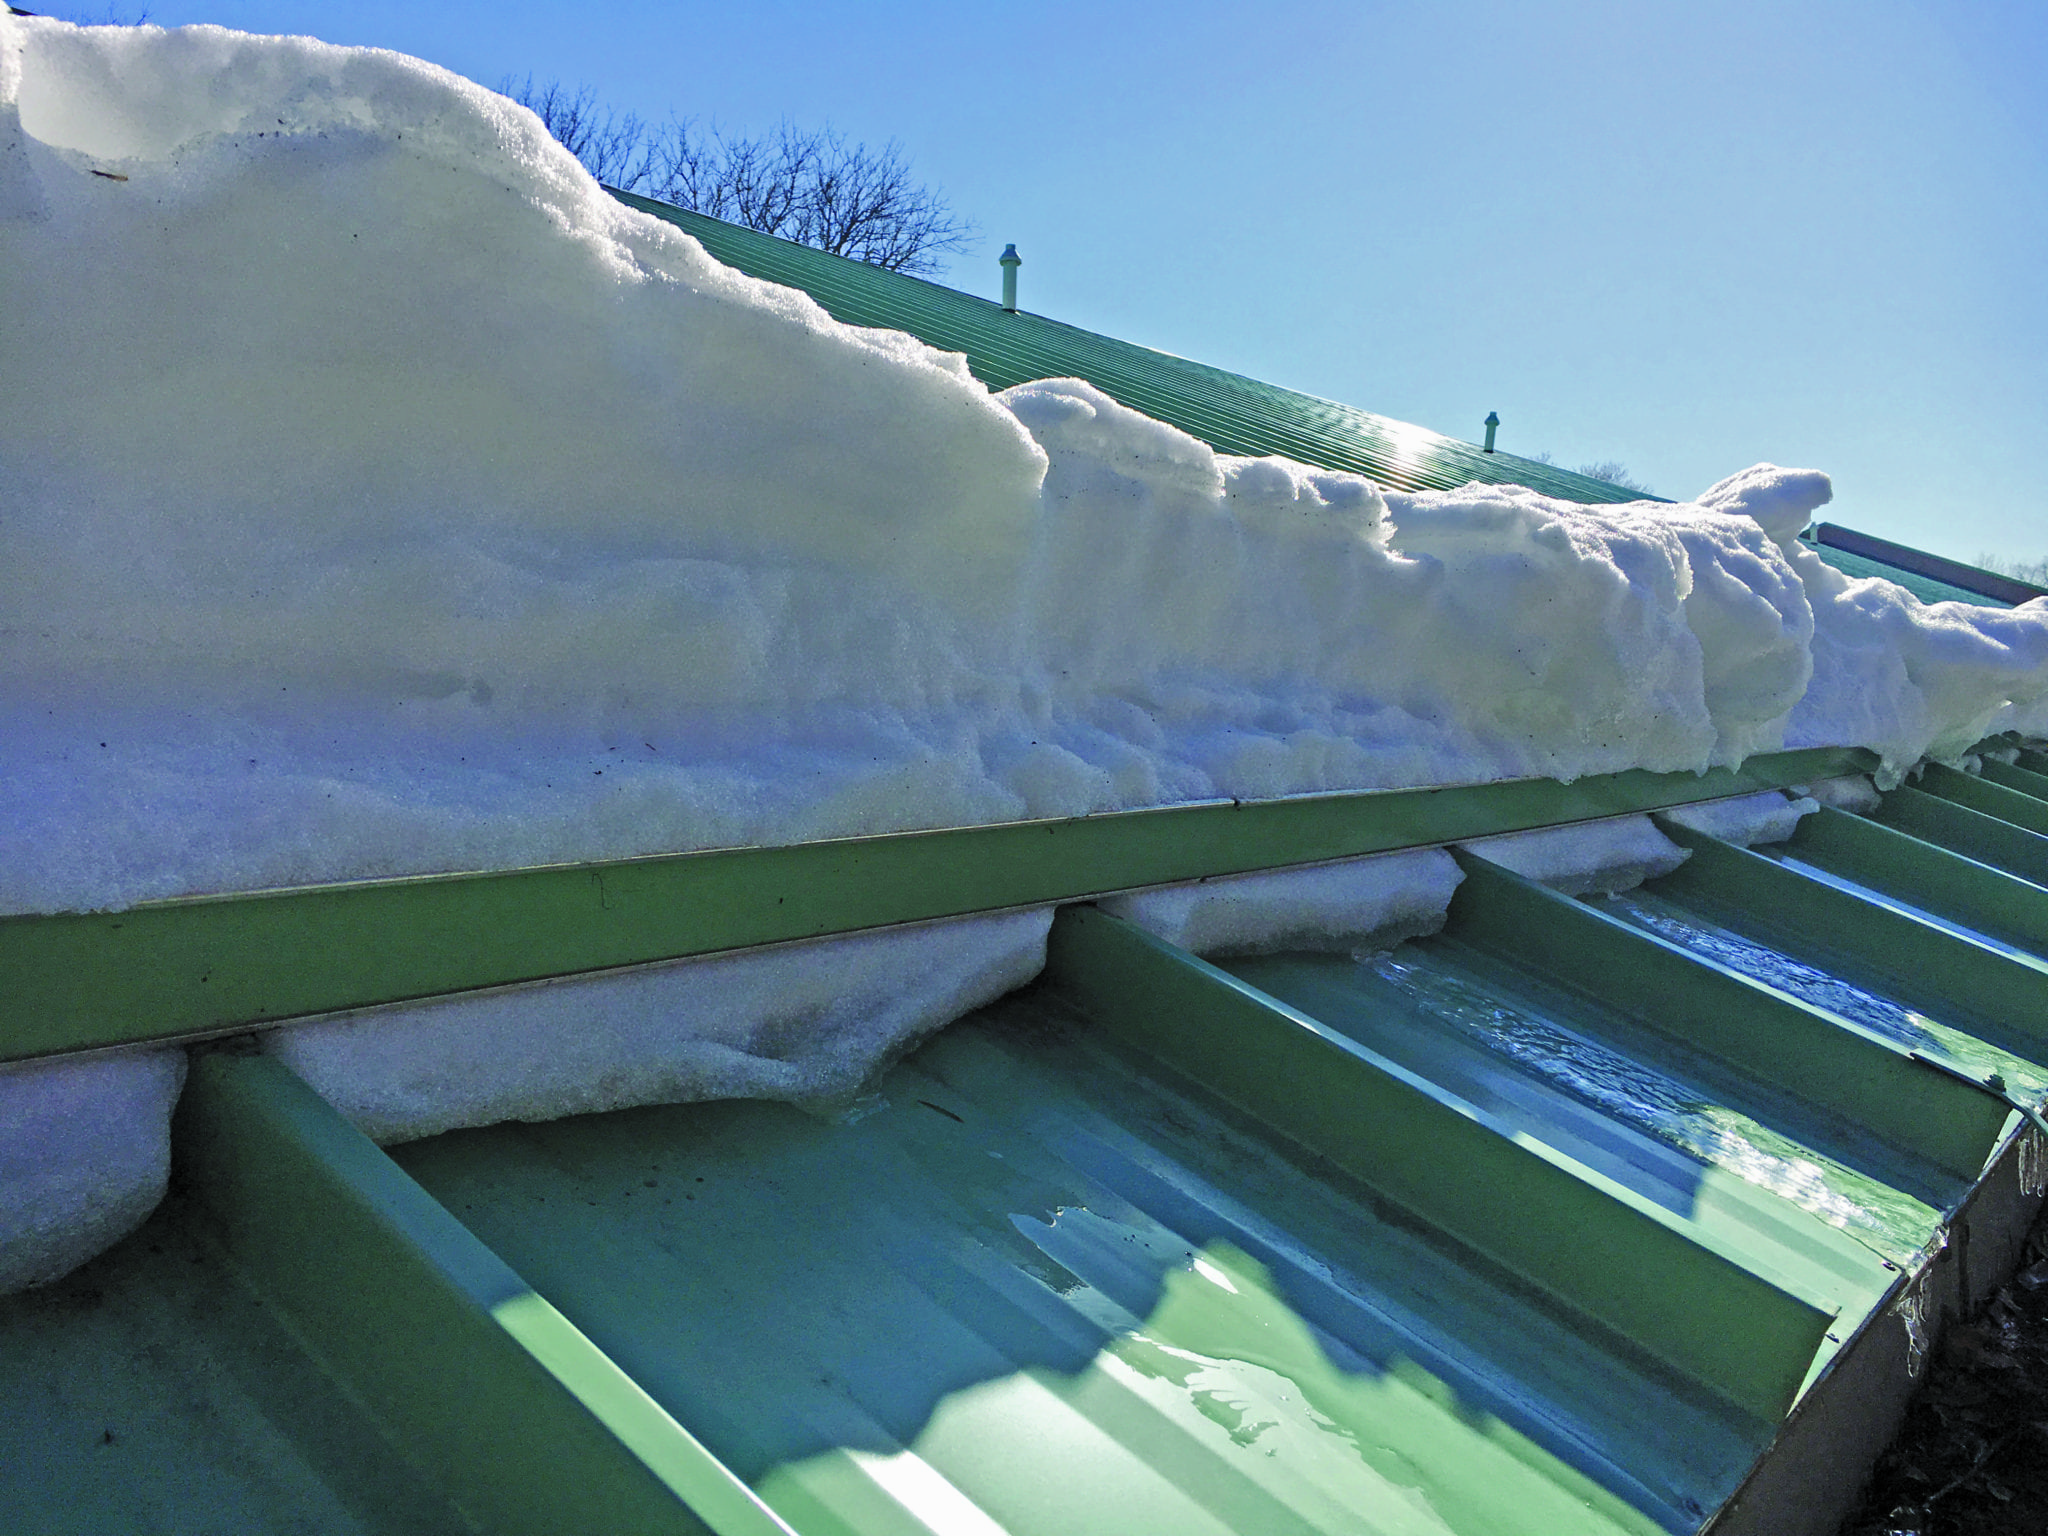 ColorGard – for a perfect color-match that lasts the life of the roof! None of our competitors dare to stand behind the performance of their own products this way.
The sudden and unexpected release of snow from the roof can be dramatic, posing a serious threat to property and passers-by. ColorGard dramatically reduces the risks associated with rooftop avalanches and maintains the clean colorful appearance of the roof with perfect color and finish matching, which lasts as long as the roof itself! ColorGard is the only snow retention system designed and engineered on a site-specific basis; guaranteed to perform, to not damage the roof or finish, and to exactly match the roof color—for the entire life of the roof.
Today’s premium Kynar 500® and Hylar 5000® (PVDF) paint systems used on metal panels are “coil-coated” and oven-cured. This is the only finish application method that can be warranted against color fade for 30 years or longer. Nothing can equal it! So, why settle for less in a snow guard system? While some dyes, powder-coats and air-dried color application methods may initially simulate a perfect match, the color soon begins to fade and becomes increasingly mismatched with a few years of age. By utilizing a strip of the actual roof material, ColorGard perfectly matches the roof—forever!
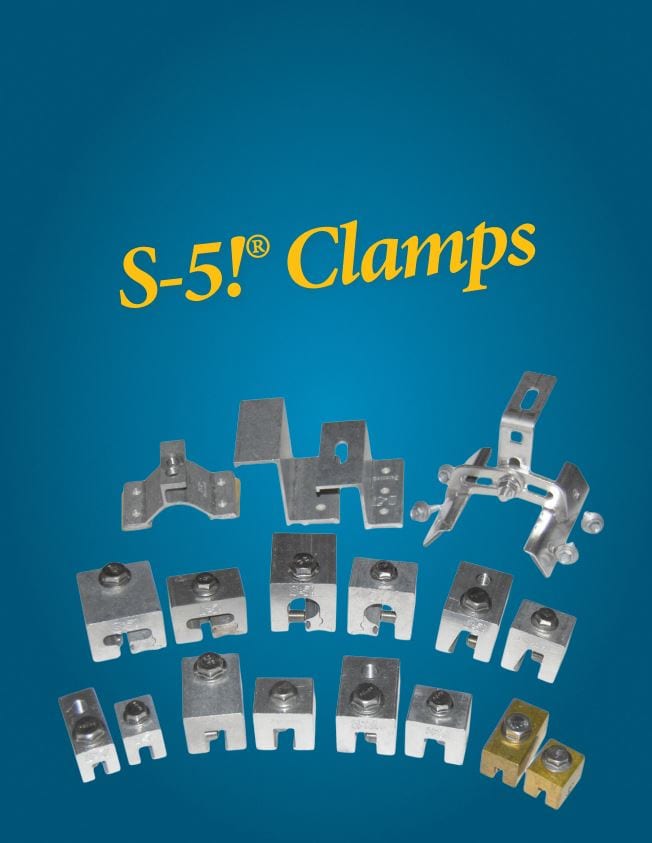
ColorGard is mechanically attached with S-5!® clamps. S-5! is the trusted name in metal rooftop attachment technology worldwide. S-5!’s, round-point setscrews grip the seam securely without penetration and without damage to the panel’s protective finishes. The clamps are precision-machined from aircraft quality, high tensile aluminum—not cast or plastic. All related hardware is non-ferrous stainless steel for lasting performance.

When the blanket of snow on the roof is dense and wet (not solidified), it may tend to undergo compression buckling, pushing a “loop” upward from the roof surface as the heavy mass compresses toward the eave where restrained by snow guards. This loop, can fold over the blanket and the snow retention device(s) in the downslope direction, often breaking and in many cases falls from the roof.
Compression buckling tends to happen more when blankets are thin. When the thickness of the blanket increases, it gains compressive strength. This tendency is related to both the vector force (and mass) and the compressive strength of the snow. Hence the following variables are at play:
Slope: Buckling is more common with steeper slopes as vector forces increase
Thickness of snow blanket: Thicker blankets generally have greater compressive strength and lower mass, and are therefore less likely to buckle
Moisture: Greater moisture content increases mass, which in turn increases the likelihood of buckling
Temperature: Warmer temperatures decrease compressive strength, and this increases the probability of buckling
Length of snow blanket: Longer blankets have an increased vector and a correspondingly increased probability of buckling
Contrary to popular myths, the height of the snow retention device plays no role in the probability of a snow blanket to buckle, and heavier accumulations decrease probability, not increase it.
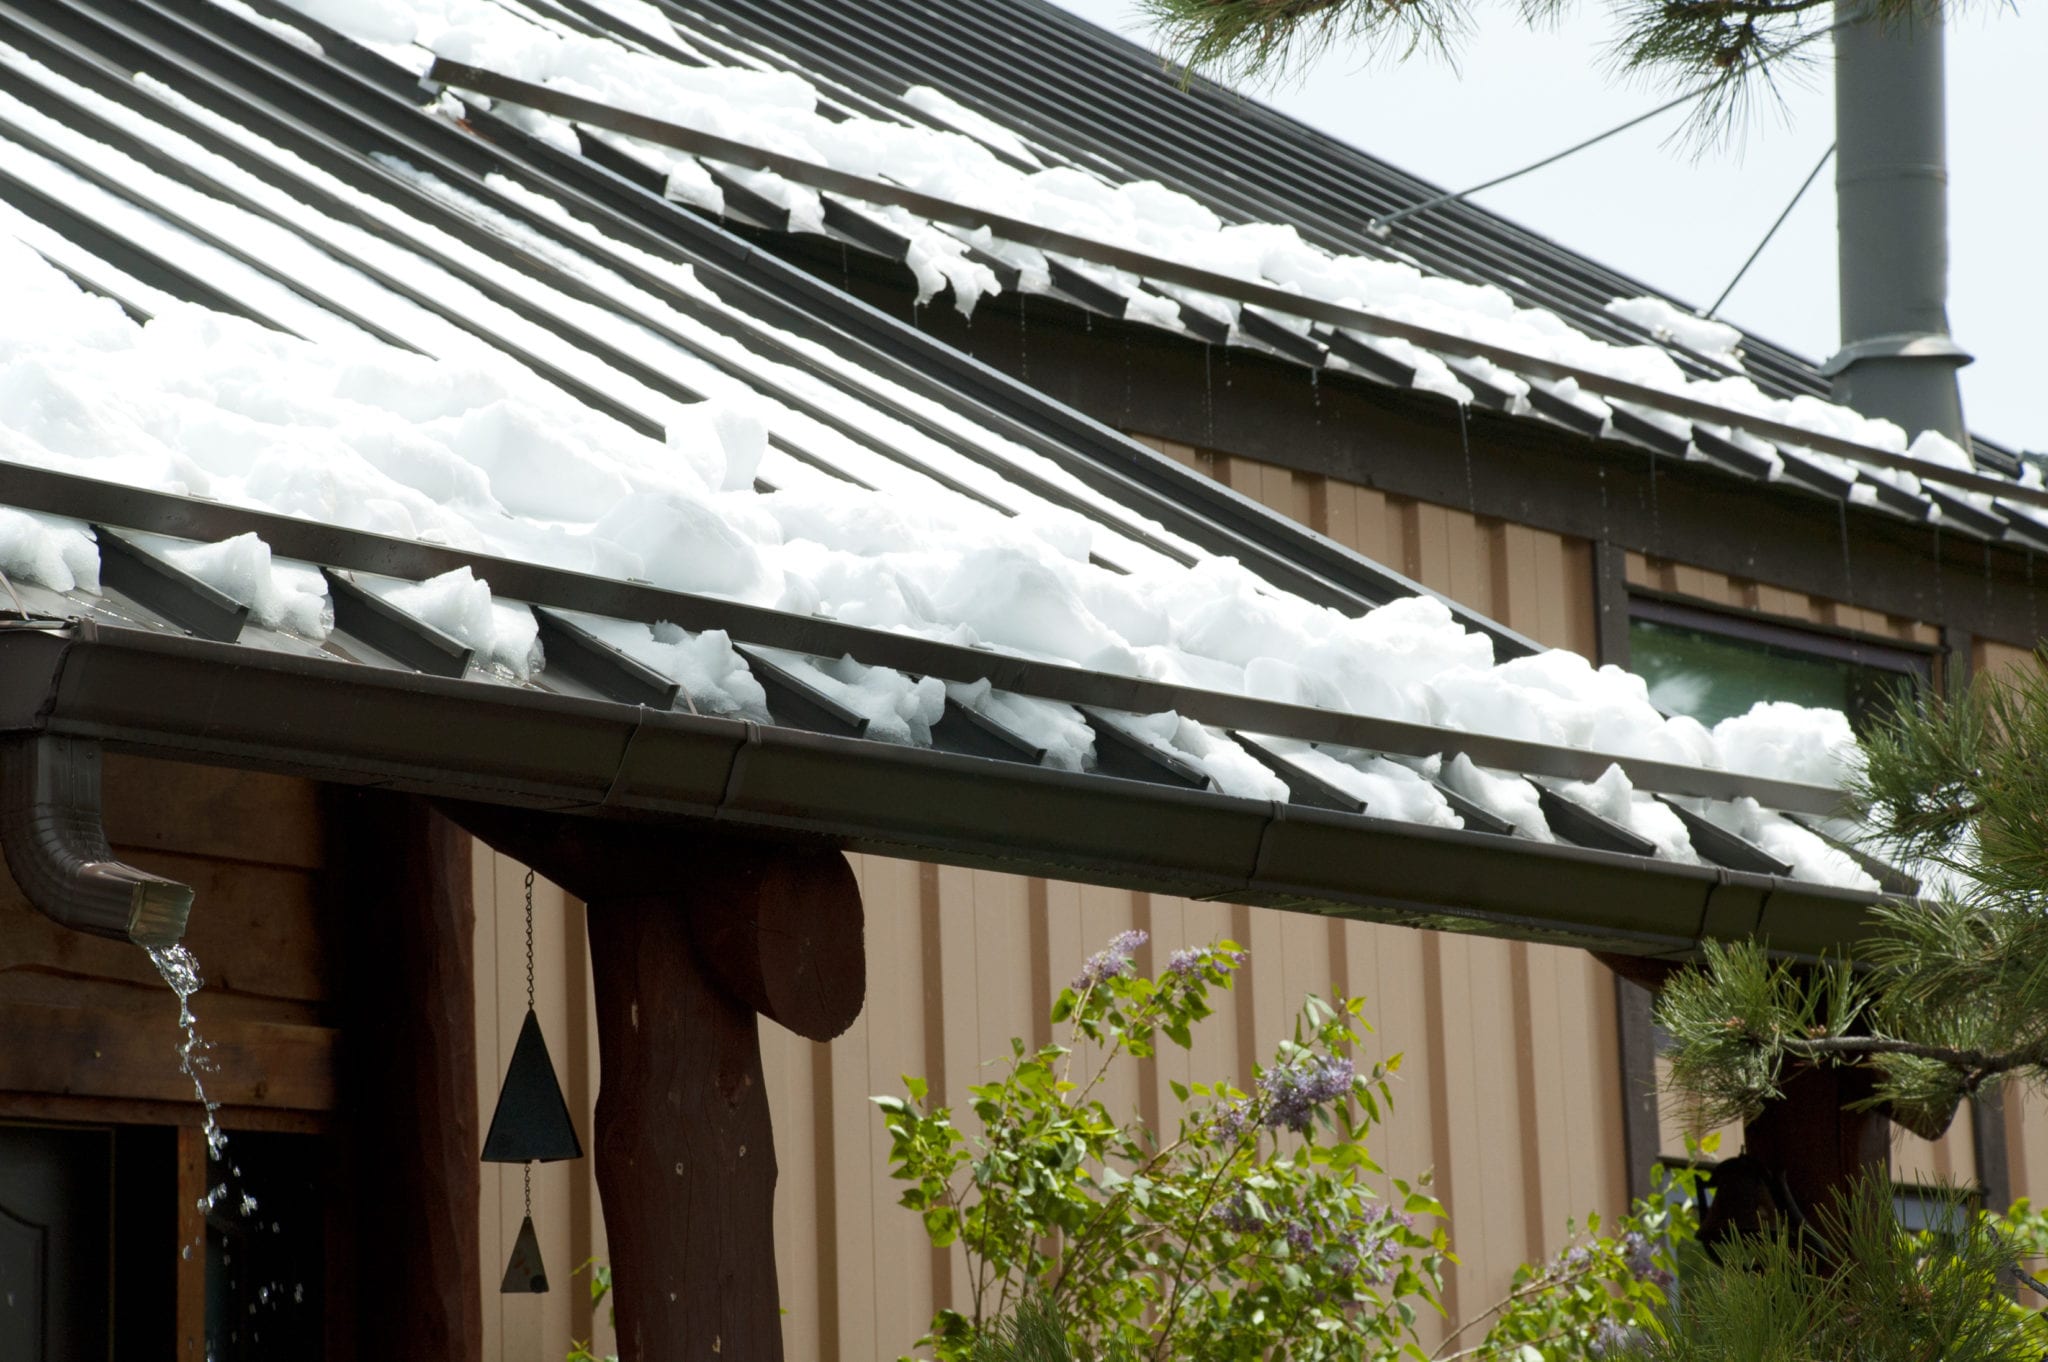 Surprisingly, a thin blanket of snow poses a greater risk of buckling than do thicker blankets.
This is analogous to compression buckling of a steel column, except that the properties of the snow are less predictable. The problem is noted when the snow blanket is minimal in thickness and very wet (lacking in body and compressive strength). Two things decrease the likelihood of snow buckling:
- Reducing the unsupported length of the column (snow blanket) by adding rows of snow retention
- Increasing the sectional size of the column (snow blanket), i.e., increasing the snow depth, which is impossible to control. When the snow blanket increases in depth, it is less likely to buckle.
Our experience has shown us that the most effective approach for adding rows of snow retention is to add a second row some 8-10’ more or less above the first. If the blanket buckles above the upper row, the “loop” is usually still contained above the lower row.
ColorGard® System Components
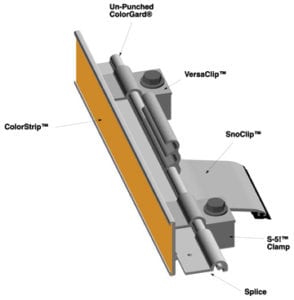
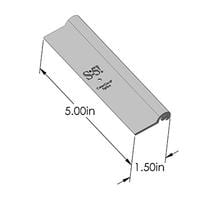
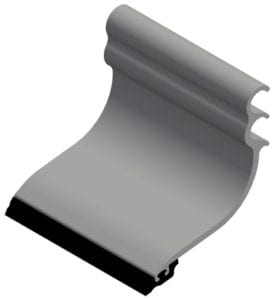
System Overview: ColorGard is manufactured from mill-finished, aircraft quality aluminum. It comes in 8-foot long sections, in punched or unpunched configurations. Splices are included with ColorGard for adjacent sections. For use with S-5!® heavy duty clamps, VersaBracket™ and CorruBracket™.
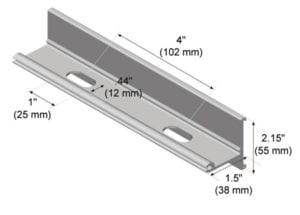
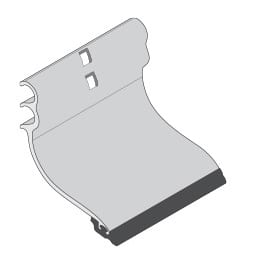
Punched Cross-member: Punched ColorGard is slotted every 4” (10.2 cm) on center for seams that are spaced accordingly, i.e. divisible by 4” (10.2cm). The slotted configuration works well with S-5! clamps.
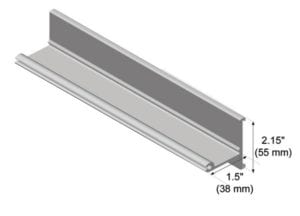
Unpunched Cross-member: Unpunched ColorGard is the most versatile and easy to install, when used with the S-5!® VersaClip™. Unpunched does not need holes, as the VersaClip accommodates any seam spacing. The unpunched configuration works well with VersaBracket. Unpunched is the right choice when the roof is laid out with untrue seam width or when the seam width is not divisible by 4. If in doubt, use unpunched.
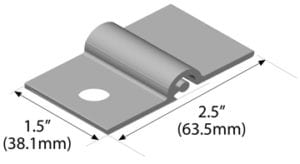
Splice: Included with cross-members, use the splice to join two pieces of ColorGard together, ensuring continuous, unbroken protection. The dimple in the center is designed to provide a gap, allowing for expansion and contraction of the ColorGard sections.
VersaClip: Available for purchase separately, VersaClip makes installation easy, as it simply slides on the ColorGard cross-member. It can be used with all S-5! clamps (one per clamp), and is optional with CorruBracket. VersaClip is not needed with VersaBracket. VersaClip is also handy when installing ColorGard askew, such as is required in the valleys between intersecting roof lines.
SnoClip™ is added to retard the migration of snow and ice beneath the cross-members. Click here for detailed information on the SnoClip.
SnapClip™: SnapClip is a retrofitted component added to retard the migration of snow and ice beneath the cross-members. Click here for detailed information on the SnapClip.
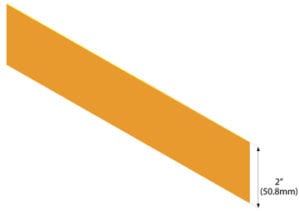
Color Strip: Not included, the color strip should be requested in 2” wide strips from the manufacturer of the roofing material in order to ensure a perfect color match for the life of the system.
For Use With Most S-5! Attachment Products
Step 1: Before You Start
 String a line at clamp location.
ColorGard is easy to install. First, at the desired location, use a string line across the top of the panel seams—this will establish a true line for installation of the S-5!® clamps. Individually measuring each clamp location from the eave is not recommended.
When installing clamps on roof panels which utilize a two-piece panel attachment clip, the clamp may be installed at a clip location if desired. When the panel system utilizes a one-piece clip, installing at clip locations should be avoided.
Step 2: Preparing the Clamps
|
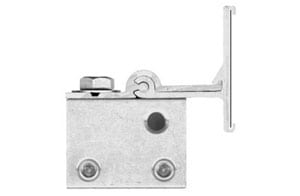
VersaClip™ assembly with bolt hole on the upslope end of the clamp. If the ColorGard assembly utilizes the VersaClip for attachment of the ColorGard crossmember, the bolt hole in the clamp should be at the upslope end of the clamp. If the assembly does not use VersaClip, the hole should be at the downslope end of the clamp. Determine which side of the clamp to load the setscrews into, and assemble all setscrews to all clamps, being careful that the bolt hole will be in the correct (upslope or downslope) orientation, with the setscrews on the correct side of the seam. |
|
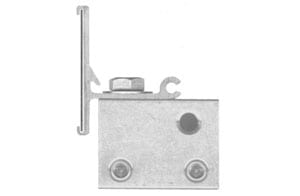
S-5! clamp without the VersaClip with the bolt hole shown on the downslope end of the clamp. If the assembly does not use VersaClip, the hole should be at the downslope end of the clamp. Determine which side of the clamp to load the setscrews into, and assemble all setscrews to all clamps, being careful that the bolt hole will be in the correct (upslope or downslope) orientation, with the setscrews on the correct side of the seam. S-5! clamps are available to fit almost any seam. |
Step 3: Installing the Clamps
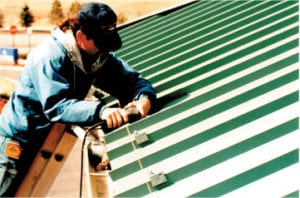 Clamps are positioned along the string line. Clamps are positioned along the string line.Position the clamps appropriately on the panel seam, using the string line as a guide. An Allen-wrench attachment tip is included in your purchase. |
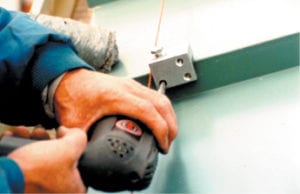 Using the Allen-wrench attachment tip for 1/4″ screwgun (included in the box), tighten and re-tighten setscrews as the seam material compresses. On low seam profiles, clamp spacing should never exceed 32″. Using the Allen-wrench attachment tip for 1/4″ screwgun (included in the box), tighten and re-tighten setscrews as the seam material compresses. On low seam profiles, clamp spacing should never exceed 32″. |
|
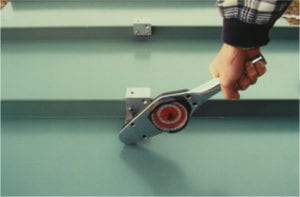
Angle drivers are available through your S-5!™ distributor. We recommend using the angle driver (available at your S-5! distributor) to facilitate easy installation and avoid damage to the panel. NOTE: Do not be concerned if after installation the clamp appears slightly “cocked” on the panel seam. It will straighten out when ColorGard is installed. The holding strength of S-5! clamps is highly dependent upon setscrew tension. |
We recommend using the angle driver (available at your S-5! distributor) to facilitate easy installation and avoid damage to the panel.
NOTE: Do not be concerned if after installation the clamp appears slightly “cocked” on the panel seam. It will straighten out when ColorGard is installed.
The holding strength of S-5! clamps is highly dependent upon setscrew tension.
For maximum holding strength, setscrews should be tensioned and re-tensioned as the seam material compresses. Clamp setscrew tension should be verified using a calibrated torque wrench between 160 and 180 inch-pounds when used on a 22-gauge steel, and between 130 and 150 inch-pounds for all other metals and thinner gauges of steel. Published data regarding holding strength is available.
CAUTION: Battery operated guns may not deliver consistent screw tension. Drywall guns may not deliver adequate tension.
Step 4: Installing ColorGard
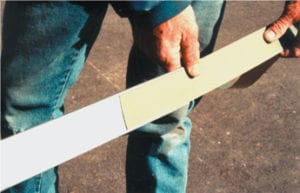 Anchor color strip to the ColorGard by pinching the retainer lip with pliers.
Joints in the ColorGard can be concealed, if desired by offsetting the joints of the color strip from the joints of the ColorGard. When this is done, the joints of the color strips should be overlapped about 1/2 inch.
Each color strip should be anchored to the ColorGard somewhere along its length. This is done by pinching the retainer lip of the ColorGard with an ordinary pair of pliers. It can be done at one end of the ColorGard section as shown, or anywhere along its length.
Attach ColorGard to clamps with stainless bolts and washers provided. Bolts can be tightened with a 9/16″ box-end wrench, or ratchet (left). On larger jobs a 1/2″ drive electric impact will expedite this work. Tension bolts to 20 foot-pounds (27 N.m.).
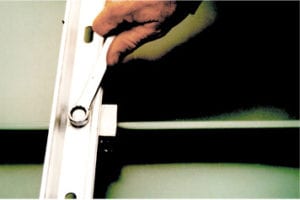 After attaching ColorGard to a clamp, tighten the clamp bolts with a 9/15″ box-end wrench or ratchet to 20 foot-pounds.
Attach ColorGard® to clamps with stainless bolts and washers provided. Bolts can be tightened with a 9/16″ box-end wrench, or ratchet (lower left). On larger jobs a 1/2″ drive electric impact will expedite this work. Tension bolts to 20 foot-pounds (27 N.m.).
Add splice pieces at each ColorGard joint as shown. The “dimple” in the splice piece will automatically provide a 1/8″ space between adjoining sections to allow for linear thermal expansion of the ColorGard.
Exposed Fastener
S-5!® has the best snow retention system attachment solutions in the industry for exposed fastener roofs. Our extensive line of versatile and affordable brackets fit every shape and size of virtually every exposed fastened and corrugated roof profile on the market. S-5! brackets have been extensively tested for load-to-failure results and water tightness.
Strong enough for heavy-duty applications, the CorruBracket™ is the perfect match for attaching S-5!’s ColorGard snow retention system to corrugated roofs, while the VersaBracket™ 47 or 67 is the choice for all trapezoid shape roofs.
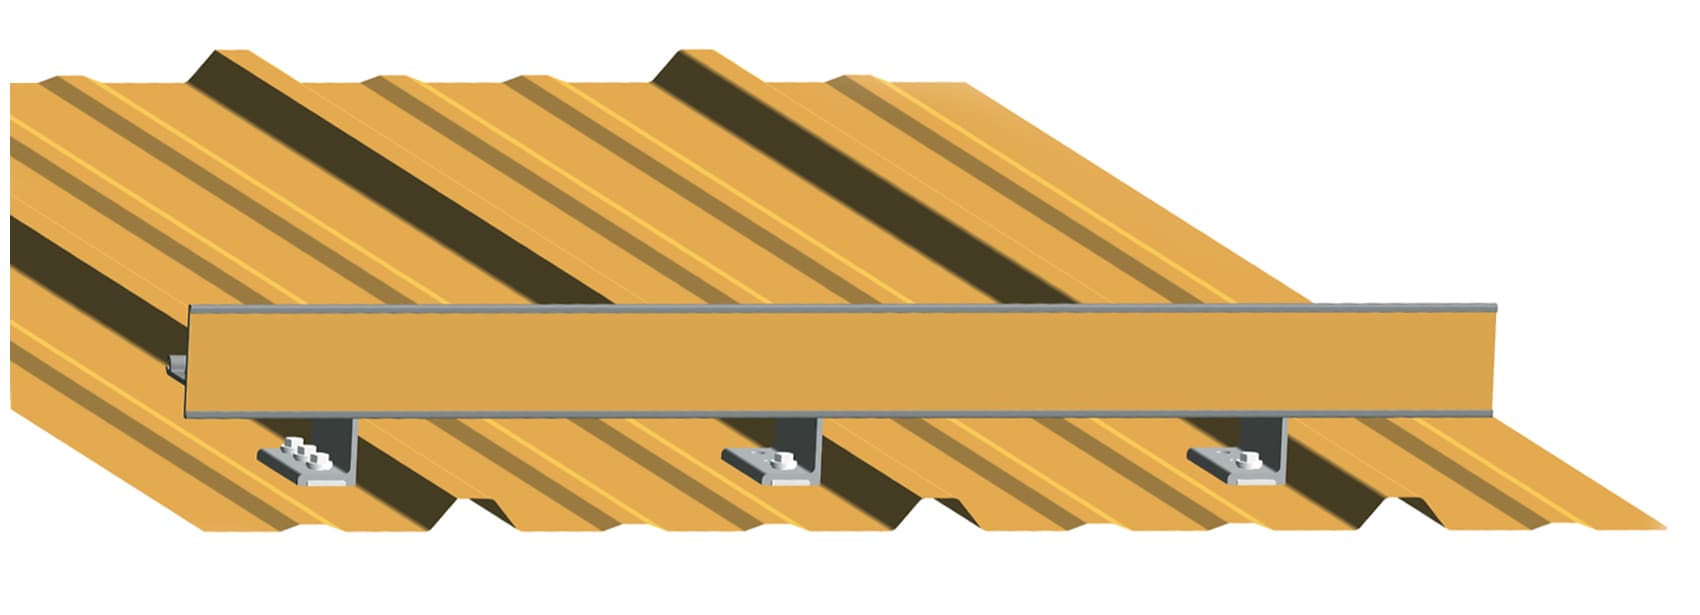
VersaBracket 47™ with ColorGard®
S-5-S Clamps
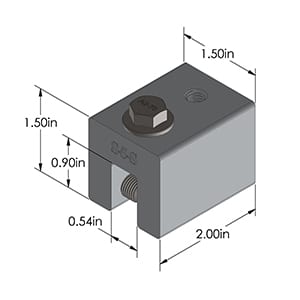
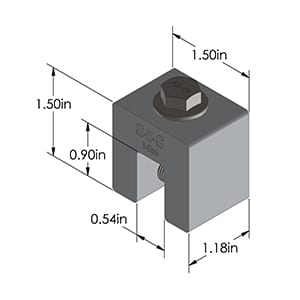
The S-5-S clamp was created specifically for popular snap-together
profiles—including residential profiles by Taylor Metals and Easy Lock
Standing Seam. For horizontal seams under .540 inches (like the Firestone UC4)
the S-5-S or S-5-S Mini clamp can be used to avoid the necessity of crimping the seam.
The S-5-S’s simple design and size make it perfect for use with S-5!® snow retention products and other heavy-duty applications. The S-5-S Mini clamp is a bit shorter than the S-5-S and has one setscrew rather than two. The Mini is the choice for attaching all kinds of rooftop accessories.
Corrubracket ™
Corrugated Metal Roof Solution
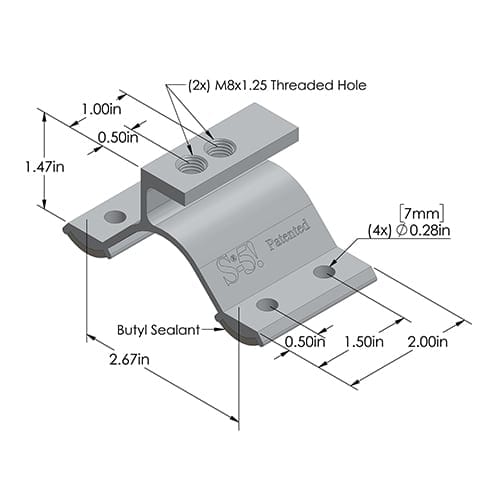
CorruBracket requires no messy sealants, so there’s no chance for leaks! It comes with factory-applied butyl sealant already in the base, and the reservoir conceals the sealant, preventing UV degradation. CorruBracket is so strong, it will even support heavy-duty applications like snow retention. For corrugated profiles, CorruBracket is the perfect match for our ColorGard® snow retention system. CorruBracket is economical and facilitates quick and easy installation.
Versabracket ™
Each VersaBracket comes with factory-applied butyl sealant in the base. A structural aluminum attachment bracket, VersaBracket is compatible with most common metal roofing materials. For design assistance, ask your distributor.
SNOW DEFENDER 1500
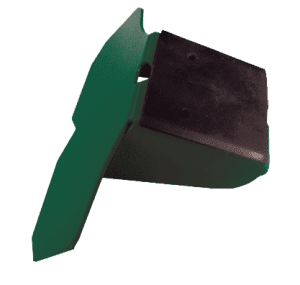
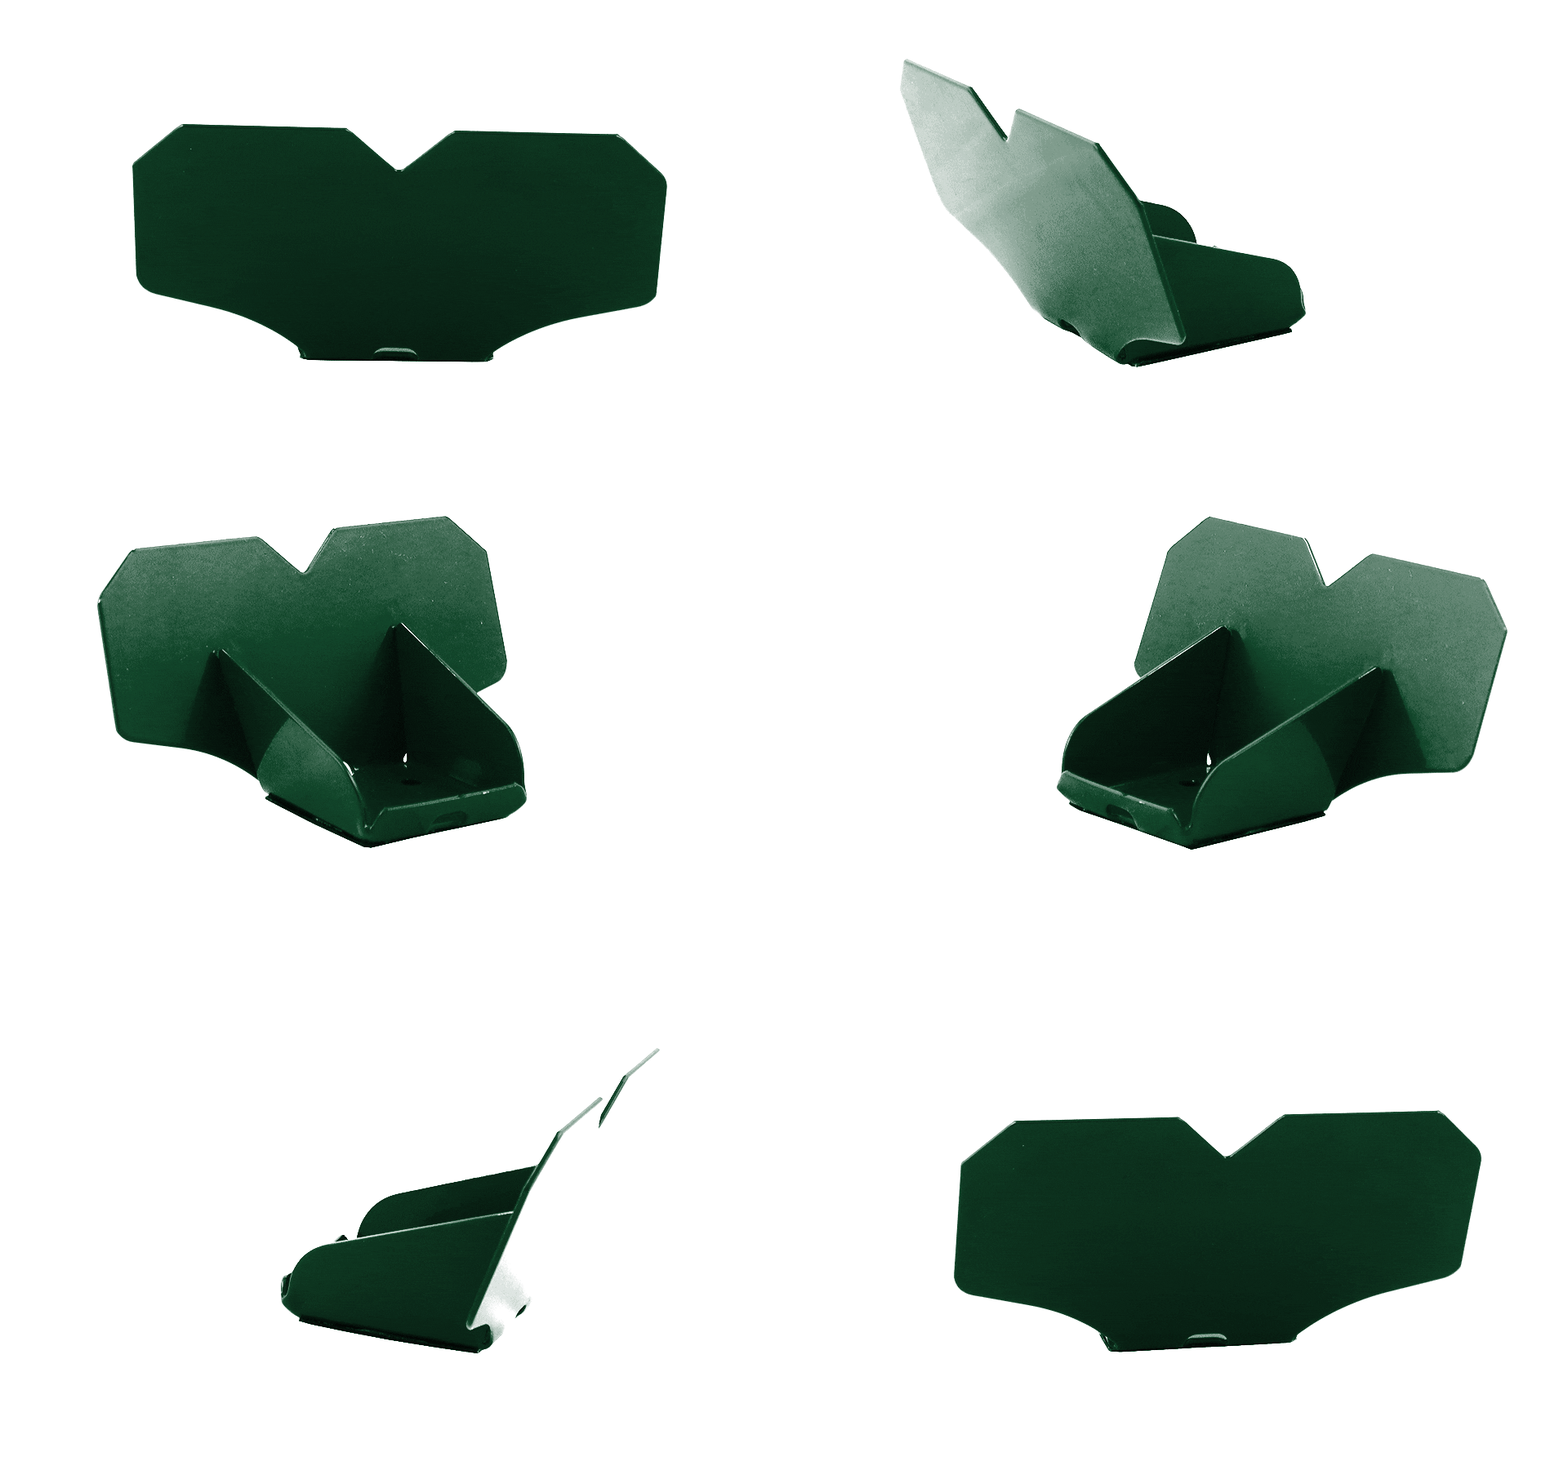
The Snow Defender® 1500 is designed for uses with an exposed fastener panel on 2×4 purlins in the upright position, or on 2×4 purlins in the flat position.
The 1500 has an EPDM rubber seal, so it makes for an effortless install — you only need the snow guards and screws, no extra caulk required. It’s designed for narrow purlins or steel building Z’s. The screw pattern allows for fastening into a purlin on edge. It also comes in 40+ colors so you are able to match any metal roof color needed.
- Made w/ 16 Gauge Type 304 Stainless Steel
- EPDM Rubber Sealer
- Powder-Coated
- Multiple Colors In Stock
- 50 Pieces per 19 Pound Box
- No Caulk Needed
- Patented

SNOW DEFENDER 6500
The 6500 snow guard is designed for standing seam roofs and is the snow guard of choice for many roofers. It fits standing seams up to 3/8″ width and most 1″ through 1 3/4″ seam heights.
- Made with Type 304 Stainless Steel
- 410 Stainless Steel set Screws to Prevent Seizing
- Powder Coated
- Multiple Colors In Stock
- 32 Pieces per Box
- Does Not Penetrate Through Metal
- Patented
